Drainage Project Planning: The Complete Guide to Getting It Right the First Time
Whether you’re managing stormwater on a commercial property, preventing basement flooding, or redesigning a landscape, drainage project planning is the critical first step that determines whether your investment pays off or turns into a costly headache. A well-planned drainage project protects foundations, prevents erosion, manages water runoff efficiently, and adds lasting value to any property. A poorly planned one? It can cause more damage than the problem it was meant to solve.
This guide walks you through every phase of planning a drainage project — from initial site assessment to final installation — so you can make informed decisions, avoid common pitfalls, and get the results you need.
What Is Drainage Project Planning?
Drainage project planning is the systematic process of evaluating a site’s water management needs, designing a solution that addresses those needs, and preparing for a successful installation. It encompasses site surveys, soil analysis, grading assessments, material selection, permit acquisition, budgeting, and timeline development.
Effective drainage planning answers three core questions:
- Where is water coming from?
- Where is it going (or where should it go)?
- What infrastructure is needed to move it there safely and efficiently?
Without clear answers to these questions, even the most expensive drainage system will underperform.
Why Proper Planning Matters More Than You Think
Skipping the planning phase is one of the most expensive shortcuts a property owner or contractor can take. Here’s what’s at stake when drainage design and planning are overlooked:
Structural damage. Poorly managed water pools around foundations, weakening them over time. The American Society of Civil Engineers consistently identifies water damage as a leading contributor to foundation failure in residential and commercial properties.
Erosion and landscape loss. Without a plan for controlling surface water flow, topsoil washes away, slopes destabilize, and expensive landscaping is destroyed.
Regulatory violations. Most municipalities have stormwater management ordinances. Failing to plan means failing to comply — and that can result in fines, stop-work orders, or mandatory remediation.
Budget overruns. Projects without a plan tend to encounter surprises underground — utility lines, unexpected soil conditions, incorrect grading — that drive costs up dramatically mid-project.
Planning isn’t an added expense. It’s insurance against all of these outcomes.
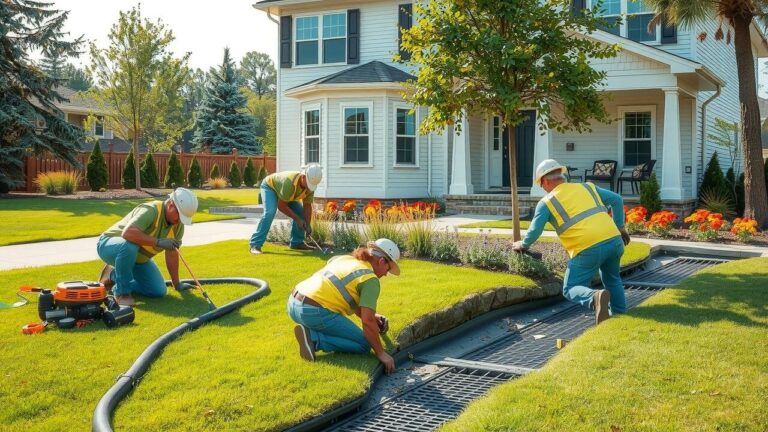
Step-by-Step Drainage Project Planning Process
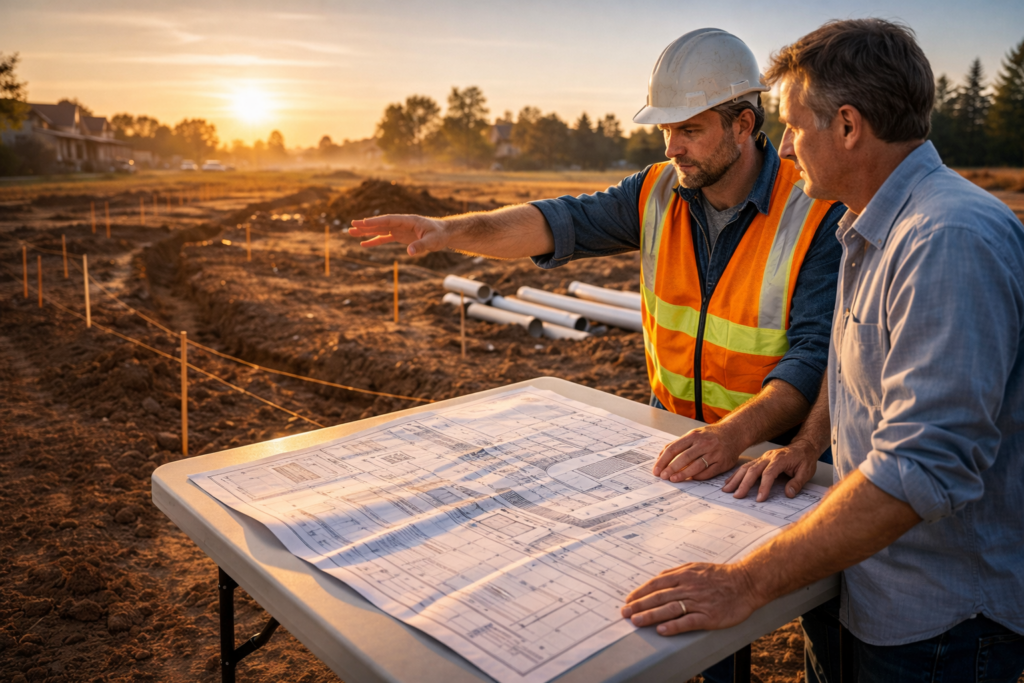
Step 1: Conduct a Thorough Site Assessment
Every drainage project begins with understanding the land. A proper site assessment includes:
- Topographic survey — Mapping the elevation changes across your property to understand natural water flow patterns.
- Soil testing — Determining soil composition, permeability, and water table depth. Clay-heavy soils drain slowly and require different solutions than sandy or loamy soils.
- Existing infrastructure review — Identifying current drainage structures, utility lines, septic systems, and any features that could affect the project.
- Water source identification — Pinpointing where excess water originates, whether it’s surface runoff, groundwater seepage, roof downspout discharge, or neighboring property flow.
A detailed site assessment prevents the single most common drainage project failure: solving the wrong problem.
Step 2: Define Your Drainage Goals
Not every drainage issue requires the same solution. Before selecting materials or drawing plans, clarify what success looks like for your specific situation. Common drainage project goals include reducing standing water in yards or parking areas, directing roof runoff away from foundations, managing stormwater to meet local regulatory requirements, preventing soil erosion on slopes, and protecting hardscaped areas like patios, driveways, and walkways.
Clearly defined goals help you and your contractor choose the right system — and avoid over-engineering or under-building.
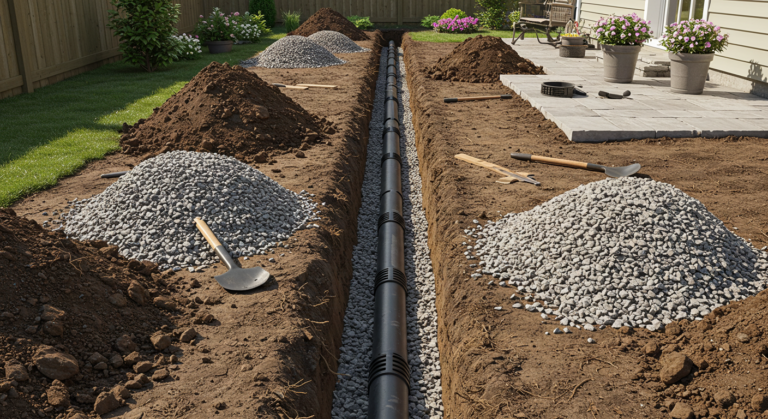
Step 3: Choose the Right Drainage System
With your site data and goals in hand, you can evaluate drainage system options. The most common residential and commercial drainage solutions include:
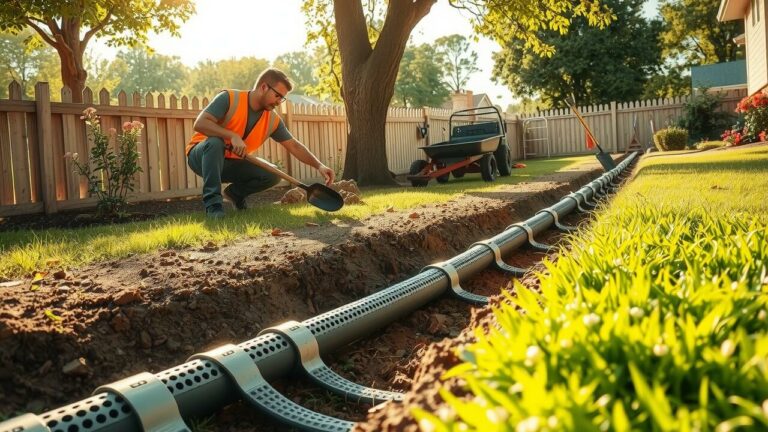
French drains — Gravel-filled trenches with perforated pipe that collect and redirect subsurface water. Ideal for waterlogged yards and foundation perimeter drainage.
Surface drains (catch basins) — Grated inlets connected to underground pipes that capture and move surface water. Best for driveways, patios, and low-lying areas where water pools.
Channel drains — Linear drains installed in hardscaped surfaces to intercept sheet flow. Common in commercial applications and sloped driveways.
Dry wells — Underground structures that collect runoff and allow it to percolate into the soil gradually. Useful when you can’t tie into a municipal storm system.
Grading and swales — Reshaping the land to create shallow channels that direct water flow using gravity alone. Often the simplest and most cost-effective option.
Sump pump systems — Mechanical solutions for below-grade water problems, particularly in basements and crawl spaces.
Many projects combine multiple systems. A comprehensive water management plan might include regrading, a French drain along the foundation, and a dry well at the discharge point.
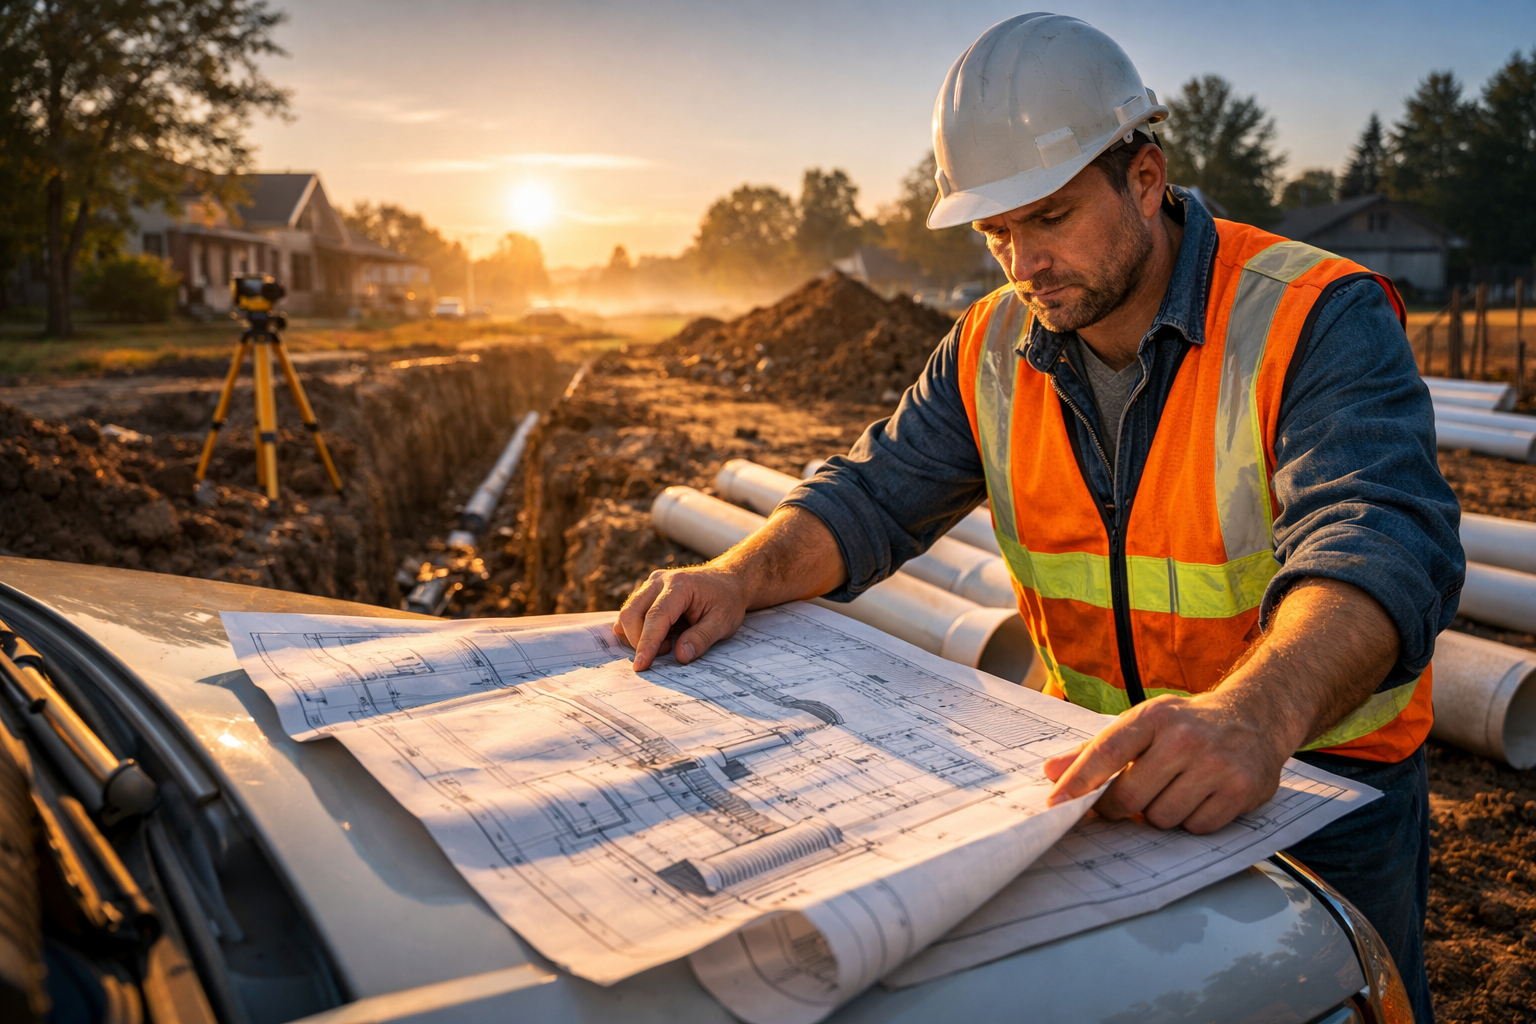
Step 4: Understand Local Permits and Regulations
Stormwater regulations vary significantly by municipality, county, and state. Before breaking ground, research the specific requirements for your area. Key regulatory considerations include local stormwater management ordinances, setback requirements from property lines and structures, restrictions on discharge locations (you generally can’t redirect water onto a neighbor’s property), environmental protections for wetlands and waterways, and erosion and sediment control requirements during construction.
Many jurisdictions require a grading or drainage permit for projects that alter water flow patterns. Some require engineered drawings from a licensed professional. Check with your local building department early in the planning process to avoid delays.
Step 5: Develop a Realistic Budget
Drainage project costs vary widely based on system type, site conditions, property size, and regional labor rates. A responsible budget accounts for design and engineering fees, materials (pipe, gravel, fabric, catch basins, fittings), labor and equipment (excavation is often the largest cost), permit fees, landscape restoration after installation, and a contingency of 10–15% for unexpected conditions.
Getting multiple quotes from qualified contractors is essential, but the lowest bid isn’t always the best value. Evaluate contractors on their experience with drainage-specific projects, not just general construction.
Step 6: Create a Project Timeline
Drainage installations are weather-dependent. Plan your project for a dry season when the ground is workable and you can properly test the system before heavy rains arrive. A typical residential drainage project takes one to three days for installation, but the planning phase — assessment, design, permitting — can take several weeks.
For commercial projects or large-scale stormwater systems, expect a timeline measured in months from initial planning to final inspection.
Common Drainage Planning Mistakes to Avoid
Even with good intentions, drainage projects go wrong when planners make these errors:
Ignoring the discharge point. Every drainage system needs somewhere to send the water. If you don’t plan the outlet, you’re just moving the problem. Ensure your discharge point is legal, adequate, and won’t cause downstream issues.
Underestimating flow volume. Designing for average rainfall instead of peak storm events leads to system overflows when you need drainage the most. Size your system for the heavy rain events, not the light ones.
Using the wrong pipe. Corrugated pipe is affordable but crushes under driveways and heavy loads. Solid-wall PVC or HDPE lasts longer and handles pressure better. Match the pipe to the application.
Neglecting maintenance access. Cleanouts and access points seem like minor details during planning, but they’re essential for long-term system performance. A drainage system you can’t maintain is a drainage system that will eventually fail.
Forgetting about freezing. In cold climates, pipes must be buried below the frost line or designed to drain completely so ice doesn’t crack them.
When to Hire a Professional
While some minor drainage improvements are suitable for DIY, most projects benefit from professional involvement. Consider hiring a drainage specialist or civil engineer when the problem involves foundation water intrusion, the project requires a permit, the property has significant grade changes, multiple drainage systems need to be integrated, or you’re unsure where the water is actually coming from.
Professional drainage contractors bring experience, proper equipment, and — importantly — liability coverage if something goes wrong.
Frequently Asked Questions About Drainage Project Planning
How much does a drainage project cost?
Residential drainage projects typically range from $1,500 to $12,000, depending on the scope. A simple French drain might cost $2,000–$5,000, while a comprehensive system with multiple components, regrading, and a sump pump can exceed $10,000. Commercial projects vary even more widely based on scale and regulatory requirements.
How long does it take to plan a drainage project?
The planning phase — including site assessment, design, and permitting — typically takes two to six weeks for residential projects. Commercial stormwater projects may require several months of planning, engineering, and regulatory review before construction begins.
Do I need a permit for a drainage project?
In most jurisdictions, yes — especially if you’re altering water flow patterns, connecting to a municipal storm system, or working near waterways. Contact your local building department to determine what permits are required for your specific project.
Can I plan and install a drainage system myself?
Small projects like extending a downspout or installing a simple pop-up emitter are manageable for experienced DIYers. However, French drains, catch basin systems, and anything involving grading changes are best handled by professionals who understand slope, flow rates, and local code requirements.
What is the best time of year to install a drainage system?
Late spring through early fall is ideal in most climates. You want dry, workable ground for excavation and enough time to test the system before the wet season. Avoid planning installations during peak rainy seasons or when the ground is frozen.
How do I know if my property needs better drainage?
Common warning signs include standing water after rain that lasts more than 24 hours, water stains on basement walls, soggy or spongy areas in the yard, erosion channels forming in the landscape, and mold or mildew smells in lower levels of the building.
Take the First Step Toward Solving Your Drainage Problem
Every successful drainage project starts with a plan. If you’re seeing water where it shouldn’t be — around your foundation, pooling in your yard, or flooding your basement — the worst thing you can do is wait. Water damage is progressive. The problem you have today will be worse next season.
Start by scheduling a professional site assessment. A qualified drainage contractor can evaluate your property, identify the root cause of your water issues, and recommend a solution designed for your specific conditions and budget. Most reputable contractors offer free or low-cost initial consultations.
Don’t let poor drainage compromise your property’s value, safety, or usability. Get a plan in place, and get the water moving where it belongs.